Add a Location
1. Navigate to the Administration
2. Go to Settings and select Company Details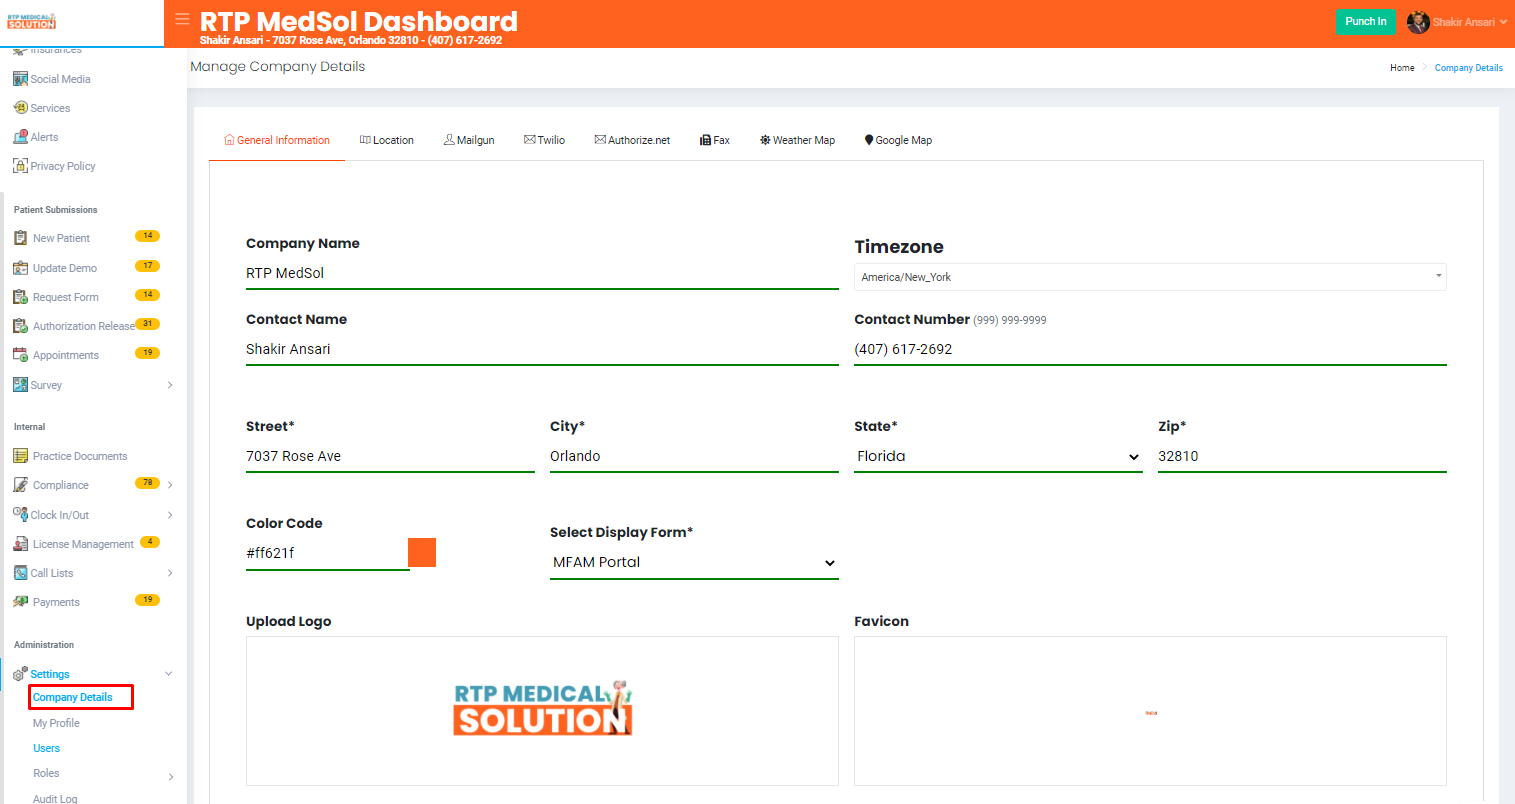
3. Select Location
4. Select the "+" icon
5. Enter all the applicable information
6. Click the Add button at the top of the dialogue box.

Updates will be reflected immediately
Related Articles
Add Block Availability for Available Appointment Times
1. Navigate to the Patient Submission 2. Go to Appointments 3. From the Admin Icon select Settings 4. Scroll down to the Block Schedule Section and select Add in the action column Note: User can select a specific location to block specific calendars. ...Add a Product
1. Navigate to the Internal 2. Go to Payments 3. Select the Setting icon and from the action dropdown select Products. 4. Select the "+" icon. - Enter all the applicable information. 5. Click the Add button at the top of the dialogue box. Updates ...Add a Manual Punch
1. Navigate to the Internal 2. Go to Clock In/Out and select Time Sheet 3. Click on the "+" icon located on the top right of the table. 4. Enter all applicable information. Both Punch In/Out date and times are required 5. Click the Add button at ...Add a Blog
1. Navigate to Manage Blogs and from the dropdown select Blog 2. Click on the "+" icon located on the top right of the table. 3. Enter all applicable information. Note: Fields in red are required & fields in yellow are optional. Note: There is a ...Add a Physician
1. Navigate to the Administration 2. Go to Settings and select Company Details 3. Select Physicians 4. Select the "+" icon 5. Enter all the applicable information 6. Click the Add button at the top of the dialogue box. Updates will be reflected ...